
WEEK SIX – BOTANICAL WEEK
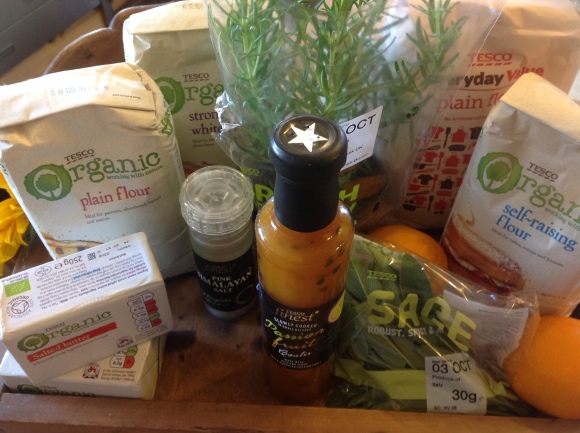
So simply, if it grows then you can add it to the bake! This week I have one from each category; a citrus meringue, a herb fougasse and a multi-tiered flora inspired cake (so this one is a little cheat as I actually made it for my Moms’ birthday at the beginning of August and it’s only 2 tiers rather than 3, but it goes with the theme.) This week I must add that my ingredients have been sponsored by Tesco – so a big thank you to them. You will notice from the pictures that there is quite a bit of organic produce; for me, this is a lifestyle choice, I am a big believer that you get out of a thing (plant, animal etc) what you put into it (you only have to eat an egg after you fed a hen some garlic bread, you taste the garlic!!!) so, if you feed them chemicals or unnecessary medicine then it could remain in the food too, so when I can, I buy organic and I have to say for me, Tesco do seem to have more organic products than any other supermarket.
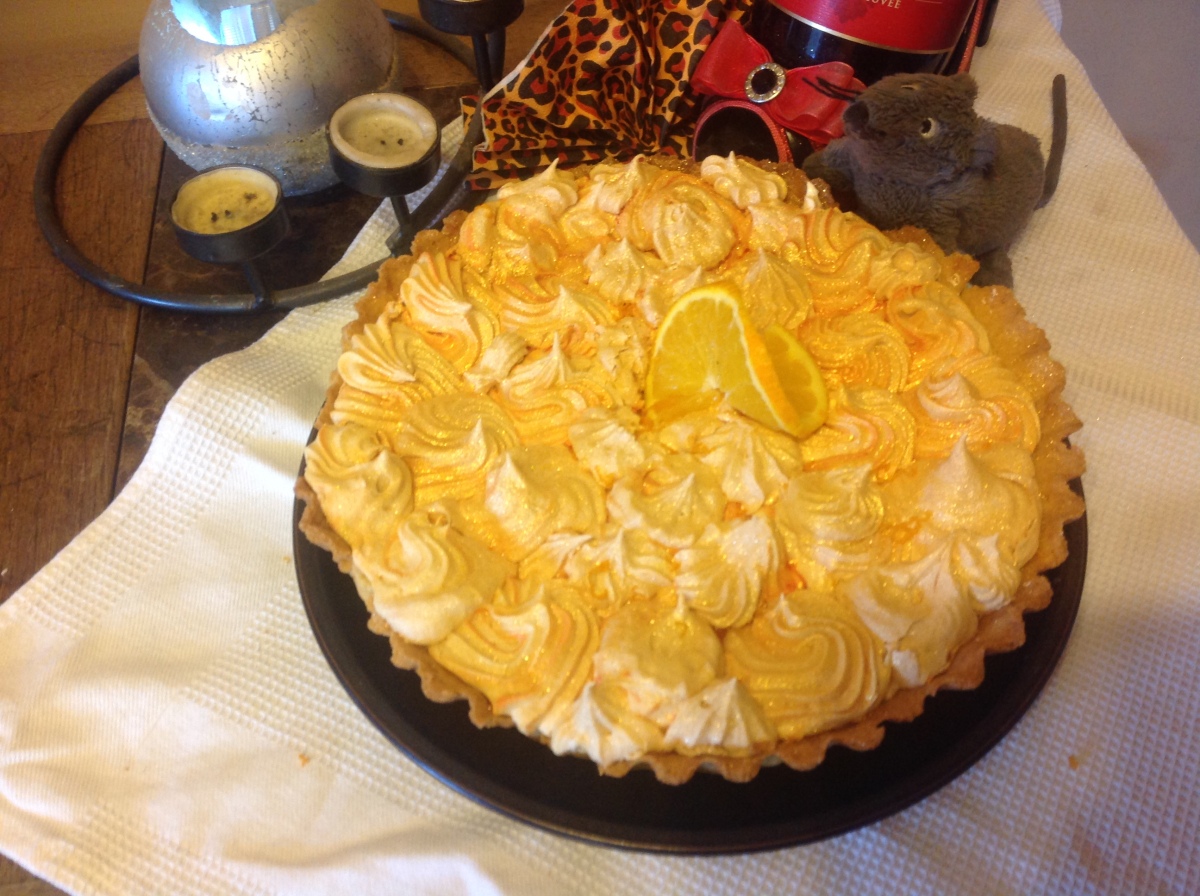
BAKE ONE (OF 3) – Orange and Passion Fruit Meringue Tart
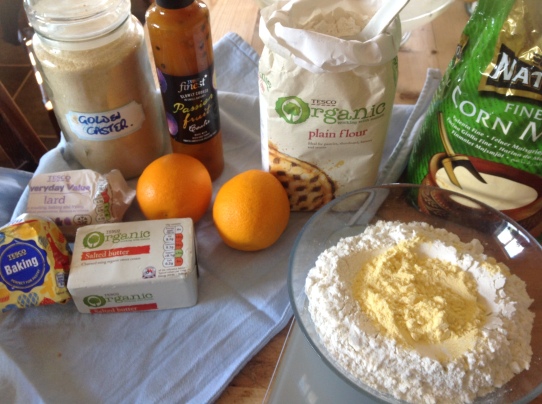
THE INGREDIENTS
THE PASTRY: 8 oz plain flour (Tesco organic)
2 oz maize flour (also known as yellow cornmeal and yes, sold in Tesco!)
4 oz salted butter plus 1 oz lard (both are Tesco own brand)
1 oz golden caster sugar (Tesco’s own)
1 medium egg
splash of cold water
THE CURD: 4 0z proper butter (organic from Tesco)
½ cup golden caster sugar
2 oranges (juice and zest)
⅓ cup of passion fruit coulis – minus the seeds (Tesco finest)
3 large eggs plus 2 yolks (lightly beaten)
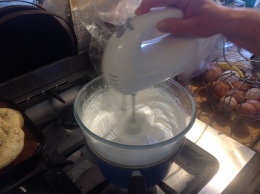
THE MERINGUE: 3 egg whites
½ cup white caster sugar
THE RECIPE
- Make pastry! Use fats direct from the fridge, cut into small cubes and rub it into the flour and maize until you have a mix that resembles breadcrumbs (or pop it in a food processor with a blade fitting and blitz for a few seconds!) Add the sugar and give it a good mix. Next add the egg and a couple of tablespoons of water and bring it all together to form a firm dough.
- Roll pastry into a ball and leave this in the bowl, covered, and pop it into the fridge or pantry for about an hour (made by hand) or 30 mins (machine made). Preheat the oven to 200°C.
- Roll out the pastry so that it is large enough to line 8″/22cm deep tart tin. Line the tin; you will need the pastry to be at least 12 inches across. Slide the bottom of the tin underneath it, folding the edges of the pastry up and over to exposed the edges of the base, pop this into the tart tin and then unfold the pastry up the sides. Simple! Trim off the excess pastry making sure to leave a small overhang of pastry round the edges to allow for shrinkage.
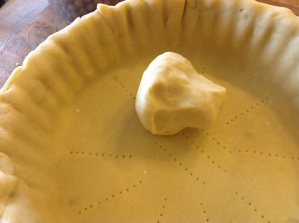 I like to make the excess dough into a mushroom shape to press the pastry into the flutes of the tin for a better finish (as I am a bit OCD at making my pastry the thinnest i can make it!) Lightly prick the base to prohibit lifting.
 - Cover with parchment or foil, fill with baking beans and put into the hot oven for approximately 20 minutes. Carefully remove the baking beans and pop back in the oven for 5 minutes just to brown the bottom a little and ensure no soggy bottom!
- Whilst the pastry is baking make the curd. Put a suitable bowl (metal or safety glass) over a pan containing boiling water on a low/medium heat (making sure it does not touch the water) and firstly put in the butter to melt, whilst zesting and juicing the orange. Now add the sugar, orange and coulis, giving it a quick beat to amalgamate all the ingredients. Using a whisk dribble the eggs slowly into the syrup until you have a smooth mixture. Now stand and keep the mixture constantly moving (heatproof spatula is good for this) until it thickens. Be patient! It can take up to 15 minutes. Once it is thickened it should be able to the following:


Stay when smeared on bowl side. Coat back of spatula. Just about hold your initial!
- Leave both the tart and the curd to cool completely. Put the curd into the pastry case so that the bottom has a good coverage (I used just over half) and gently smooth over.
- Make your meringue, it’s really your choice whether to do Italian (hot sugar into whisked whites) Swiss (whisking sugar and egg whites in a bain marie) or French (whisking your whites cold and adding the sugar a spoonful at a time) I did Swiss for a change. Preheat the oven to 130ºC.
- Pipe the meringue onto the tart and bake for 45 – 60 minutes until the top is crispy. Turn off the oven and leave the tart to cool inside, as this will help with the crisping.
- That’s it, enjoy as your dessert after dinner, or with a good cuppa!


THE TIPS – For a little fancy flourish why not try adding a little orange colour and/or some orange flavour to the piping bag, simply use a long thin artist style paint brush and paint stripes down the inside of the bag, after you have added the nozzle, before you add the meringue. I then covered mine in edible gold glitter too, ’cause I do like to add ‘jazz hands’ to my food! Don’t discard the left over pastry either, use it to make a couple of jam tarts or mince pies.
BAKE 2 (OF 3) – Herby Fougasse bread
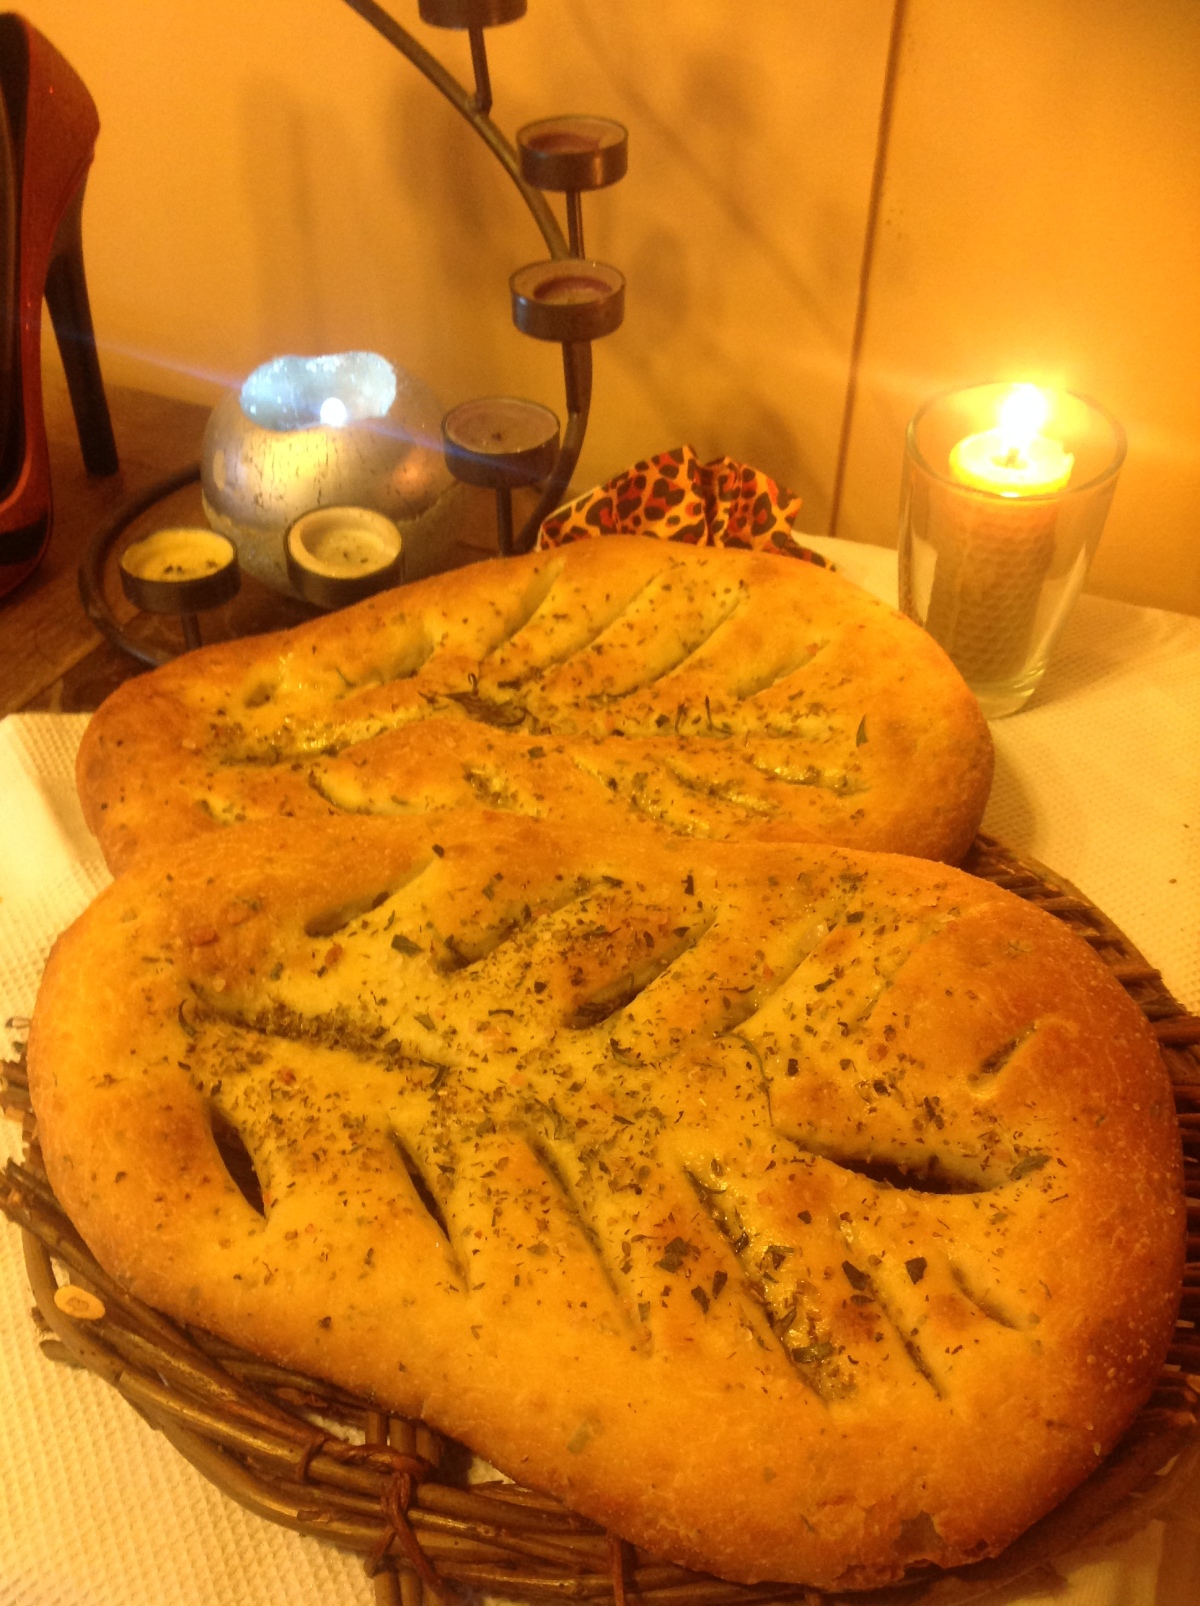
This is a traditional French ‘leaf’ shaped bread and my second bake that Tesco have sponsored the ingredients on. It is quite a simple bread but tasty and an ideal companion to stews, casseroles, soup or even a ploughmans’. I have gone with the Great British Bake Off flavours as I am a bit partial to a nice bit of herby bread, but you can use any flavours you like, plain, cheese, chorizzo…….. The following recipe will make either 2 large or 4 small ‘leaf’ shaped breads. I tried to find the translation of the word fougasse, failed!
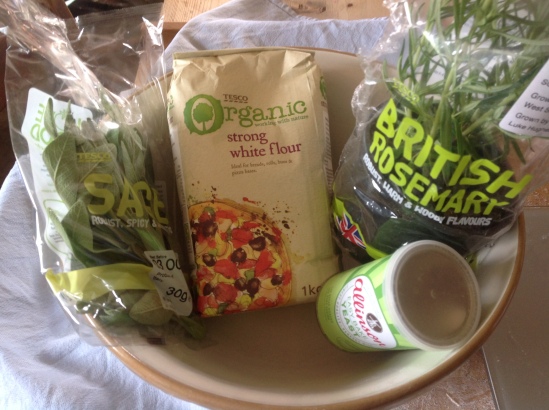
INGREDIENTS
500g/1lb 2oz strong bread flour (Organic from Tesco)
1 tspn dried yeast
1 tspn salt (I used Tesco Finest pink Himalayan sea salt)
350ml/12 oz water
1 tspn dried yeast
Good glug of olive oil
2 tbspn chopped finely chopped herbs (Tesco sage and rosemary)
Sprinkle of dried herbs (Tesco own dried oregano)
AND THE METHOD:
- Preheat oven to lowest level then turn off.
- Put the flour into a large mixing bowl, add the yeast to one side and the salt to the other, then place the water in the centre. Mix for a couple of minutes until the dough starts to form.
- Using a dough scraper transfer the dough onto your work surface, which has been liberally coated with the olive oil. Continue to work the dough by continually stretching and folding it over, into and onto itself. It should take roughly 10 minutes to transform from a sticky gloop which wants to adhere to the surface to a stretchy dough that although is still tacky, is elastic and smooth and will yield.


- Finely chop the fresh herbs (a small food processor is good for this), stretch out the dough to a rough circle and sprinkle the herbs over, then work the bread for another minute or so to evenly disperse the herbs. Form it into a ball.
- Lightly oil the bowl and place the ball into it, cover and place in the warmed oven for approximately one hour until doubled in size. If you have longer, then you could simply leave the bowl at room temperature and let the dough take longer to prove as this is said to enhance the flavour.
- Turn out gently onto a floured (or fine semolina) or oiled surface. Divide the dough into 2 or 4 with a sharp knife and work each one the same. Be careful not to deflate it too much whilst working with it, be firm though as it is quite unyielding.
- Roll into a ball and then pull the dough into an oval shape, then pick up one end and let gravity pull it down a little and you should have a teardrop leaf-ish shape. Place onto a lined or oiled baking sheet and using a sharp implement (pizza cutter is good) cut 2 consecutive slits down the centre then 5-6 (3-4 on the small ones) diagonal slits going out to the sides.


Put the baking sheets into large plastic bags and leave for approximately 30 minutes to plump a little. Meanwhile preheat the oven to maximum. When oven is good and hot, spritz some water onto the sides (avoiding the elements) to create a little steam (not to much though as you want this bread to be a little crisp) then turn the oven down to around 200ºC.
- Remove from the bags and spray olive oil onto the dough (or lightly drizzle) and sprinkle with the dry herbs and rock salt. Then place the breads in the oven for 20 minutes. Once golden turn off the oven, leaving the bread in there to cool, just on the shelf, with the door slightly ajar, to crisp up on the outside.
- Enjoy with your favourite meal or some cheese. It should be crunchy on the outside and spongey in the middle.
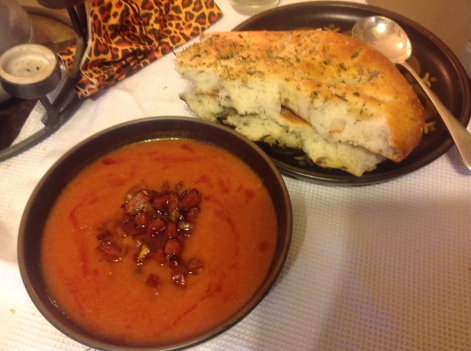
Here’s my serving suggestion – homemade spicy tomato soup with churizzo croutons.
TIPS – I made my bread by hand, not the easiest method I have to say as it is a sticky dough and did take quite a lot of working with, it can be made in a mixer with a dough hook attachment. If making dough or pastry by hand, i recommend using just one hand leaving the other one clean and grease free for adding extras, or getting out the flour dredger, or spraying a little more oil onto the bread board. Invest in an oil spray bottle, you can get refillable ones, you can use them for cooking with, oiling bowls and implements, greasing trays and tins, oiling food etc.
I had always wanted to try ‘pink’ salt as I had heard that is was supposed to be the ‘best’ salt (we give it to the cattle in the winter in its pure form as salt lick to replace the minerals they miss from eating fresh green grass). But to be honest, I think my lovely sea salt crystals are just as good, but the Himalayan salt does look nice.
AND FINALLY BAKE 3 – Tiered Floral Cake – The Showstopper
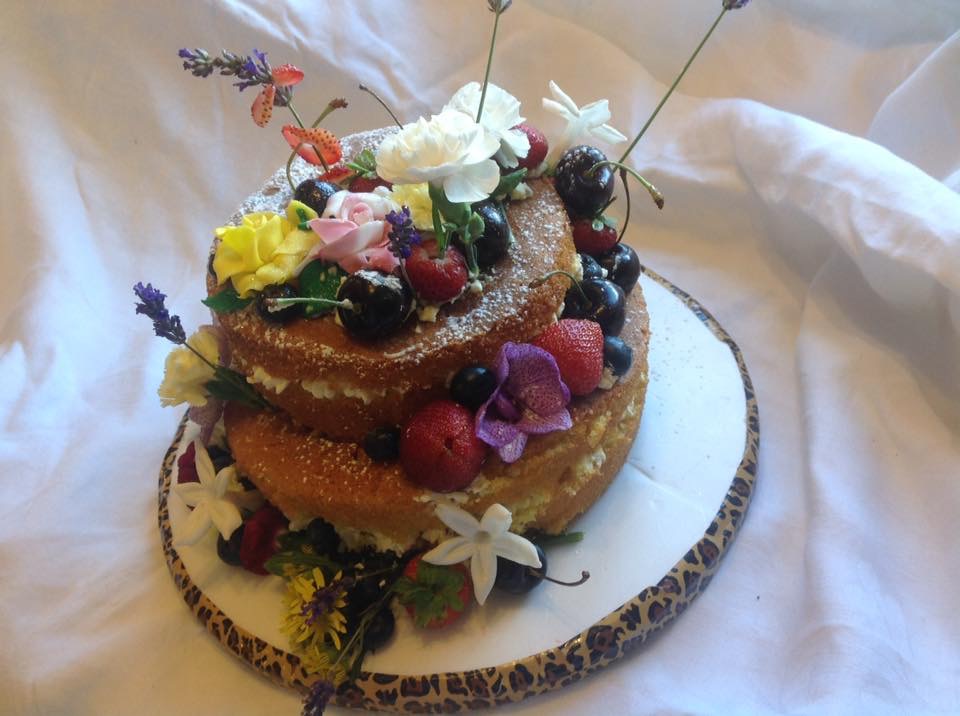
So this cake is quite simple to make, but stunning to look at; It was also my first attempt at doing a topsy turvey style (although not very clear from the picture I am afraid) this was achieved by taking 2 pieces of wood around 6 inches long, 2 wide and 1 high, which I covered in foil to avoid it getting too hot in the oven and for hygiene too. Now, some of the flowers on this cake are not edible, if you do the same, ensure that anyone going to eat a cake with non edible items on is fully aware of this (or make sure you only use edible ones); these were then removed before the cake was cut; I covered the stalk ends of the stems with a tiny piece of cling film to avoid any sap contaminating the sponge. I also made some sugar paste flowers too, just because!
SO HERE IS WHAT YOU WILL NEED TO MAKE A 2 TIER CAKE
So this is a simple cake recipe, all the ingredients should weigh the same so, pre weigh a jug, and break your eggs into it, whatever they weigh that is how much sugar, butter and flour you need. One medium egg weighs around 2oz/55 g
SMALL CAKE: 3 eggs then the same weight of:
golden caster sugar
butter
self raising flour
1 tspn baking powder
2 tbsp milk
1 tbspn dried lavender (or dried crushed rose petals)
LARGE CAKE: 4 eggs then the same weight of:
golden caster sugar
butter
self raising flour
1 tspn baking powder
3 tbsp milk
1 tbspn dried lavender (or dried crushed rose petals)
OTHER INGREDIENTS
Some fresh fruit (I used blueberry, strawberry and black cherry)
A small posy of mixed flowers (heads only)
Optional: some hand made sugar paste roses
CREAM: 1 large pot of double or whipping cream should fill both cakes, add a couple of teaspoons of rose water after whisking . Or simply add a couple of drops of rose essence (food grade). You could also add some pink colour if you like. I also added some crushed dried rose petals to the larger cakes’ cream
AND HERE’S HOW TO MAKE IT
- Preheat the oven 180ºC or fan oven 170ºC and well grease and line the bottom of two 7″/21cm tins and two 9″/26 cm tins.
- Weigh the eggs (for one of the cakes), without shells (I usually pop a jug on the scales, reset it to 0 then crack the eggs into that, without breaking the yolks) That way you will get a fluffy, even bake. Cream the butter and sugar together – you can do this the old fashioned way if you like, but dodgy hands that don’t work proper’ being what they are I prefer my trusty old Kenwood! Once light and fluffy, add a spoonful of your flour and beat in the eggs, one(ish) at a time. Then add the flour, baking powder, milk and whatever flavour you are using.
- Put an even amount into the relevant tins, smooth down the surface and bake for approx. 25 to 35 mins until cooked fully. Remove from the oven and leave for 5 mins in the tin to cool, very carefully remove from the tin (running a pallet knife around the edge gently) to avoid crumbing up the sides; take out of the tins and allow cool fully on a rack.
- Repeat with the second cake once the first is out of the oven.
- Once fully cold, whip up your cream then add the rose essence.
- Decide which of each pair is the bottom and which is the top layer. Pipe or spread the cream onto the bottom one (retaining a small amount of cream) and sandwich the 2 halves together. Put the small amount of cream remaining onto the larger cake and place the smaller cake neatly on top. Decorate your little heart out! I find that it looks a tad more aesthetically pleasing to the eye to use a ‘spiral’ around the 2 tiers. Using the fruit and flowers to ‘hide’ any untidy areas on the cakes. Just remember if you are not sure of whom will eat your cake, then use only known edible flowers.
- Sprinkle lightly with icing sugar and/or glitter (it is a showstopper after all). Oh yes, stick an indoor roman candle in for good measure!


And now I would like to thank our hostess Jenny Paulin (mummymishaps.co.uk) who hosts and organises the Great Bloggers Bake Off on her page, but also to apologise for giving her so much to read each week (I just can’t help it, I love to cook and bake!) Plus a huge thanks to Tesco for helping provide this weeks’ ingredients.
If you want to see the other candidates in this weeks’ bakes then have a look on Jenny’s site.


All your bakes look amazing. I like the passion fruit coulis from Tesco and it’s must be delicious in the meringue pie.
LikeLiked by 1 person
What an amazingly sucessful week of baking. I love the sound of the orange and passionfruit meringue pie, your bread look fabulous and the cake stunning. Hats off to you 🙂
LikeLiked by 1 person
You have done incredibly well. I like that you jazzed up your meringue with glitter, it looks amazing. Your fougasse looks just perfect, and your cake is so pretty.
LikeLiked by 1 person
goodness me you have had a very busy but productive week of baking! all three bakes look amazing – your family must love you for all the yummy food you make for them. An orange and passionfruit meringue pie sounds really great and that cake has been decorated so prettily. wow! thank you for linking up xx
LikeLike